Here is a step by step guide to creating a Polaroid effect action in Photoshop, no more waiting two minutes with the picture under your arm to keep it warm, but with the press of a button it is done for you instatnly. But first we have to set it up. Click on the picture to enlarge the step by step guide.
Step1
Open an image into Photoshop. With your Action Pallette open click the 'New Action' button and name the action 'Polaroid'.
Step 2
Now duplicate the image. Go to Layers>duplicate layer and press 'ok' when the text box appears.
In the layers pallette set the blending to 'soft light'
Step 3
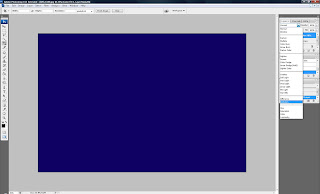
Go to Layer > New Fill Layer > Solid Color and select a 'dark blue'.
The image will now appear dark blue as above. We now need to set the blending to 'Exclusion'
It should now look like this.
Step 4
Now go to Layer > New Adjustment Layer > Levels and slide the black slider to the right a little, just enough to increase the intensity but not too much that you start losing detail.
Step1
Step 2
Now duplicate the image. Go to Layers>duplicate layer and press 'ok' when the text box appears.
In the layers pallette set the blending to 'soft light'
Step 3
Go to Layer > New Fill Layer > Solid Color and select a 'dark blue'.
It should now look like this.
Now go to Layer > New Adjustment Layer > Levels and slide the black slider to the right a little, just enough to increase the intensity but not too much that you start losing detail.


Comments
Post a Comment